We are here with the BenQ GL2460HM best settings. If you are currently using this monitor, then you can check this post out.
BenQ is known for offering top-notch gaming monitors. The BenQ GL2460HM monitor came out back in 2014. At that time, this monitor was one of the best monitors for gaming. However, over the years, a lot of high-end monitors have come out from BenQ. So, nowadays, there is no demand for this monitor.
But chances are you have bought this monitor a while back. And as this is a high-performing monitor, you are still using this. But as time has passed, the performance of the monitor has also deteriorated slowly. In this case, you might be looking for some settings for a good quality picture output.
To tackle this issue, we have put together this post. This post will try to share some of the best settings for the BenQ GL2460HM monitor.
BenQ GL2460HM Specifications
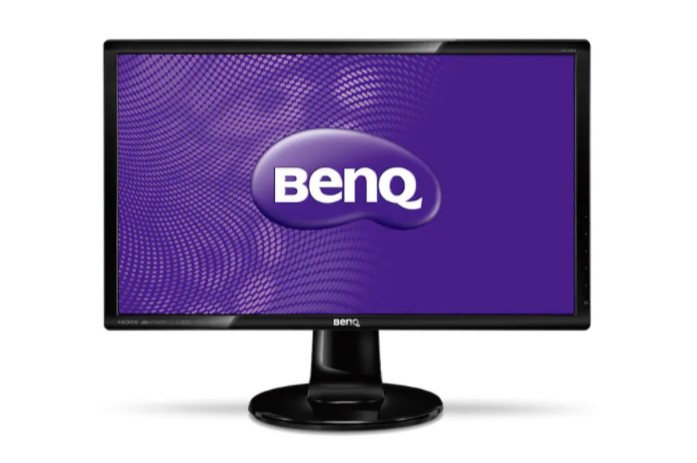
Before we begin, we need to talk about the specifications of this monitor briefly. So that you can understand how much customization is possible in this one. This particular monitor actually came out as the ‘Stylish Monitor’. Also, the highlighted feature of this monitor was Eye-care technology.
The monitor is 24 inches and has a screen resolution of up to 1920 x 1080p. It comes with a TN panel. So, you can expect a very low response time but a low viewing angle as well. Response time, this monitor has only a 2 ms GTG response, which is perfect for competitive gaming.
The peak brightness of this monitor is 250 nits. It features 12,000,000:1 DCR (Dynamic Contrast Ratio) (Typ.) and 1000:1 native contrast. As usual, it came with a 16:9 aspect ratio and 60 Hz refresh rate. The color gamut of this monitor is 72% NTSC.
You will also love that it comes with a pair of built-in 1W speakers. In our opinion, the quality of these speakers is terrible. It also fears audio line-in and headphone jack. In addition, the monitor comes with Flicker-free technology, low blue light, AMA, HDCP 1.4, and more.
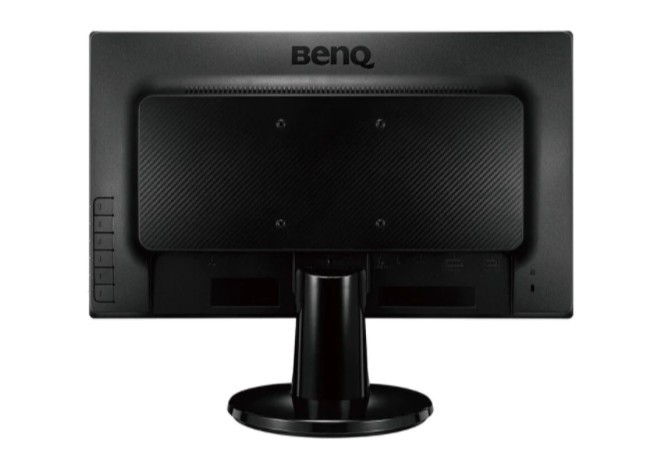
Another good thing about this one is that it is VESA wall mount (100×100 mm) compatible. At the back, it is equipped with 1 D-sub, 1 DVI, and 1 HDMI 1.3 input. It has the tilt feature (-5˚down – 20˚up) as well. Overall, for the price, this was a great 24-inch monitor.
BenQ GL2460HM Best Settings
In this section, we will share all the best settings for the BenQ GL2460HM monitor. Remember, there are no perfect settings available for a monitor. Because no monitors are created equal, depending on the user, the best settings would vary from person to person. As a result, it is possible that you might not like our settings.
So we are going to share multiple different settings. That way, you will be able to try all of these and settle on one. You can also tweak the settings yourself and set them to your liking for the best result. Anyway, let’s go…
Settings #1
- Brightness-60
- Contrast-40
- Sharpness- 5
- Color temp- 93-95-93
- Instant mode- On
- Black EQ- 10
- AMA- High
- RGB- 0~255
Settings #2
- Brightness-55
- Contrast-43
- Sharpness- 0
- Color temp- 93-95-93
- Instant mode- On
- Black EQ- 10
- AMA- High
- RGB- 0~255
Settings #3
- Brightness-65
- Contrast-45
- Sharpness- 6
- Color temp- 90-93-90
- Instant mode- On
- Black EQ- 10
- AMA- Premium
- RGB- 0~255
Settings #4
- Brightness-75
- Contrast-50
- Sharpness- 0
- Color temp- 90-93-90
- Instant mode- On
- Black EQ- 10
- AMA- Premium
- RGB- 0~255
Settings #5
- Brightness-80
- Contrast-60
- Sharpness- 5
- Color temp- Reddish
- Instant mode- On
- Black EQ- 10
- AMA- Premium
- RGB- 0~255
Tips on the BenQ GL2460HM Best Settings
We have already shared several settings regarding the BenQ GL2460HM monitor above. Along with that, we want to share a few more tips to try to follow to improve the quality of the image on your monitor.
Tip #1 Reduce Sharpness
The ‘Sharpness’ parameter is significant on the BenQ GL2460HM monitor. A lot of users have said that they got better results after turning the sharpness down a lot. As a matter of fact, some of them even suggested turning ‘Sharpness’ to ‘0’ for the best result.
Tip #2 The AMA Settings
You might have noticed that your monitor has a feature named AMA. AMA stands for Advanced Motion Accelerator. On the BenQ GL2460HM monitor, the AMA has 2 modes which are high and premium. This setting is actually related to the response time of your monitor.
The rule of thumb is that if you don’t notice artifacts or distorted images on your monitor, you should use the Premium model. On the other hand, if you notice artifacts and want to get rid of them, you can use the high mode.
Tip #3 The Eye Care Feature
BenQ has provided the ‘Eye Care’ feature on the BenQ GL2460HM monitor. It is a useful feature for reducing eye fatigue.
However, it can also affect the picture quality and brightness dramatically. So, you can try to turn that off if you want the best and accurate picture quality.
Tip #4 The Low Blue Light Technology
Another handy feature is the ‘Low Blue Light Technology. This feature will allow the monitor to filter out the harmful blue light from the screen. As a result, it will help reduce eye fatigue and irritation.
But, this feature actually deteriorates the picture quality. So, even though it is beneficial, you can turn it off and see where it improves the picture quality or not.
Tip #5 The Color Temperature Setting
There are 4 different color temperature modes in the BenQ GL2460HM monitor. The modes are Reddish/Normal/Bluish/User mode. Now, you can use any of these modes depending on your choice.
However, you can also tweak the settings and use the ‘User Mode’. Generally, you should use the ‘Reddish’ setting as it is actually the ‘Warm’ setting.
Closing Thoughts
Undoubtedly, the BenQ GL2460HM monitor is packed with many features that made it a popular monitor back in the days. So, if you are still using this monitor, then we understand your choice. To help you enjoy this monitor further, we have shared a few settings that should improve the picture quality.
You can try each of them one by one and find out the settings that will suit you the most. Of course, you should know that when it comes to picture quality settings on a monitor, it all boils down to the user’s preference. So, if you have not found the sweet spot, you should tweak the settings a bit more.
Before you go, if you have found this post helpful, don’t hesitate to share it with others. And if you have any more queries and questions, you can share them in the comments below.
More Posts for You: