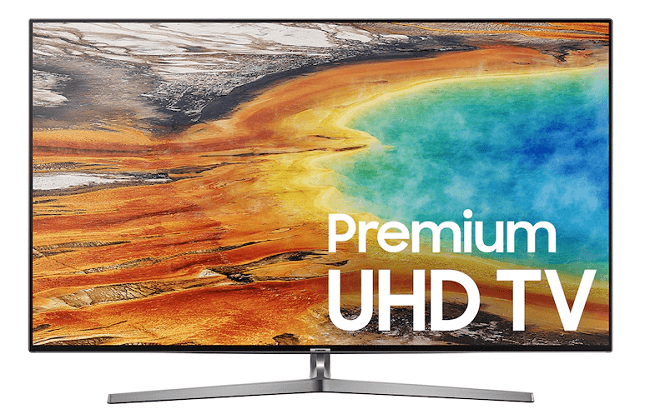
Samsung put in a lot of effort into the manufacture of the MU9000. At the time it hit the markets, it was the best Samsung TV available for several reasons. One such reason is the picture quality.
Even without adjusting the picture settings, you’ll still get good quality pictures. Why settle for good when you can great? Exactly, with the best picture settings for Samsung MU9000, you can get amazing picture quality.
Don’t worry, you don’t have to research to achieve this, we’ve done all the work. Check out what we came up with below.
Best Samsung MU9000 Picture Settings
For our research, we made use of the 55” version of this model (UN55MU9000). We are positive, however, that these settings will function properly for other sizes of the model. These include:
- 75” (UN75MU9000).
- 65” (UN65MU9000).
Our settings will work perfectly for any kind of content including movies, regular TV, and gaming. However, depending on your game, you may need to make a few tweaks. Now, let’s look at the different settings.
General Settings
As always, we advise that you switch off “Eco Solution” first. This is because this function automatically adjusts backlight and brightness settings to suit the room. If you prefer to have a preset luminance, then turn this setting off.
After this, you should choose the Picture Size. For this TV, the best setting is 16:9 Standard. Along with this, you should switch on the “Fit to Screen” option. This option allows you to enjoy input signals without adjusting the display scale all the time. The only time you’ll need to make adjustments is when using the TV as a PC monitor.
Now, let’s look at the Picture Modes. There are four modes available including dynamic, natural, standard, and movie. Movie is always the winner because it gives better images regardless of the content or the source.
For a dark room, you should use 4 as your backlight setting. It is important to note that this scarcely has any effects on picture quality. So you should leave it matching the light in your room. For the other settings, you should stick to the default values:
- Brightness – 0
- Contrast – 95
- Sharpness – 0
- Tint (G/R) – 50 for each one.
If you are watching high-resolution content, it is best to turn off “Digital Clean View.” You only need it when watching low-resolution content. This feature helps to smoothen content and reduce compression artifacts.
When calibrating, you should switch off “Auto Motion Plus.” Only people who prefer the Soap Opera Effect leave it on. This effect is also known as Motion Interpolation (we will discuss this setting later).
Adjust your Local Dimming setting to “Low.” For other TVs, it is best to switch off this feature, but doing this with the MU9000 is impossible. Here’s what you can do. Try out all the settings under this feature and pick the one that suits you best.
Turn off the Contrast Enhancer setting to avoid extra processing of your images. This way, you have images closest as possible to the original. You should also turn off HDR+. This feature extrapolates HDR from SDR content thus creating fake HDRs. As much as possible, it is best to have your content original.
Motion Interpolation and Judder Control
Like we mentioned earlier, the setting that controls this function is the Auto Motion Plus. This feature controls how your TV handles judder. When you turn it off, your TV cannot remove judder from image sources.
To achieve this, leave Auto Motion Plus at Custom. Now set “Blur Reduction” to 0, same as the Judder Reduction. Uncheck the LED Clear Motion box. With these settings, you won’t have judder from your 24p movies gotten from any source.
However, if you like judder, then you can increase the De-Blur and De-Judder sliders. Do this until you achieve a suitable soap opera effect. It is also important to note that the De-Blur slider will affect 60fps content. The De-Judder slider will affect content 30fps or lower.
Expert Settings
For your color tone, you should select Warm2 as with other Samsung TVs. If you prefer less red or yellow in your images then you can pick something cooler. Always leave your gamma at 0. This makes it possible for your TV to adjust gamma automatically. You shouldn’t adjust the gamma curve except you notice dark scenes aren’t deep enough of there’s a black crush.
Leave color space settings as Custom if you want to do some further calibration. However, if you prefer using your TV without calibration, set it to Auto.

)