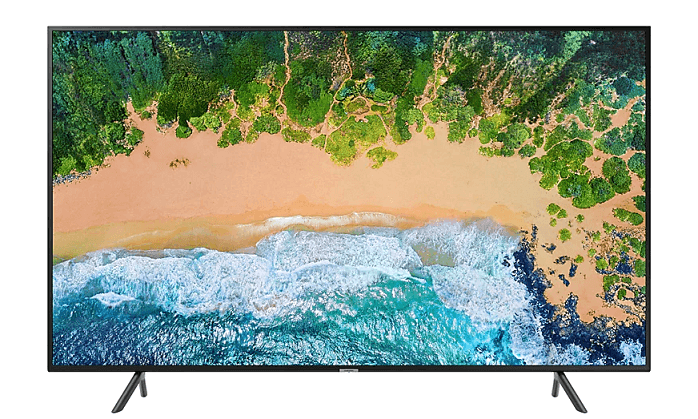
Samsung TVs are amazing for several reasons. From the look to the sound and most of all, the picture quality. They seem to have it all including the NU7100 series.
However, you still have a role to play in getting the best picture quality from the Samsung NU7100. If you don’t get the settings right, you won’t have great pictures, it’s that simple. Are you wondering how you can find the best picture settings for Samsung NU7100?
Look no further than this post. After much research, we have put together the best picture settings for this amazing TV in this post. Grab your remote and let’s fix your picture settings now.
Best Samsung NU7100 Picture Settings Updated
To carry out our testing, we made use of the 55-inch version of the NU7100 TV. We believe these settings will suffice for any TV within this range regardless of their models. The other models under this range include:
- 40-inch (UN40NU7100)
- 43-inch (UN43NU7100)
- 49-inch (UN49NU7100)
- 65-inch (UN65NU7100)
- 75-inch (UN75NU7100)
You will enjoy any kind of content using these settings. However, you may need a few tweaks for gaming and using the TV as a monitor for your PC. Enough said, check out the best picture settings for your NU7100 below.
General Settings
Turning off the Eco Solution tab is the first thing you should do. This is very important so that your TV doesn’t alter the picture settings or backlight levels while calibrating. Unless you do this, the TV will change its brightness at different times to suit your room conditions.
This TV has four picture modes and they are:
- Dynamic
- Standard
- Natural
- Movie
It is best to stick to the Movie mode because of the accuracy it brings to the table. It also ensures that you have as much opportunity as possible to customize your settings. After this, you should move to the expert settings tab to fix the following settings:
- Backlight – 21
- Brightness – 0
- Contrast – 45
- Sharpness – 0
- Color – 25
- Tint (G/R) – 0
Don’t forget, the backlight settings never impact the picture quality. If you feel the pictures are too dim, you can increase the value to your taste.
Expert Settings
There are several other settings under the Expert Settings tab. One of these is the Digital Clean View. We suggest that you turn this off except when watching older or low-resolution content. this feature smoothens pictures and leaves them with lesser compression artifacts.
You should also turn Auto Motion Plus and Contrast Enhancer off. This is because you don’t need to add extra processing to your images. It is always best to keep your pictures closest to the intent of the creator.
Motion Interpolation
This setting is also referred to as the Soap Opera Effect. If you will like to increase “De-Judder” you can choose “Custom” under “Auto Motion Plus.” After this, you can now slide upward or downward to set your De-Judder for motion interpolation.
Color and Gamma
For the best results, we chose Warm2 as our Color Tone. If you feel that the pictures are too red or yellow, you can adjust your color tone by choosing a cooler one. Select BT.1886 + 2 as your gamma setting. Doing this ensures that your TV adjusts to different content automatically. The only reason why you should touch the gamma curve is when your notice that the dark scenes aren’t deep enough.
Leave your color space setting as Auto. This will ensure that color space automatically adapts to your content each time. Leaving this setting at Custom means you have to make manual adjustments each time.
HDR Settings
We cannot do without talking about the HDR settings considering most of the content we have these days. You should turn on HDMI UHD Color for your HDMI input when using external devices to load HDR content. This is important because it allows the TV to transmit on the required bandwidth for HDR.
Note that some older devices will not see your TV as HDR-compatible if you don’t turn this setting on. You should also choose Auto for Color Space settings and move your Backlight slider to 100.
Gaming Settings
Go to the General Menu and enter the External Device Manager to enable the Game Mode. Under these settings tab, you should tap on Game Mode Settings and then switch Game Mode On. You should adjust your HDMI Black Level making it Auto. If you are gaming in SDR, you should leave Sharpness at 0.
For playing games with HDR content, you should enable HDMI UHD Color. Your TV doesn’t adjust backlight settings automatically when in Game Mode. This means you have to set backlight manually to max.