If you want a decent 4K LCD TV at entry-level, then you should look to the Samsung NU6900. The picture quality is great even though it doesn’t provide you all the advanced functions of newer models.
Regardless of this, if you get your picture settings right, you should still enjoy watching movies and gaming. We know how difficult it is to research picture settings on a new TV. This is why we took the pain to research on your behalf.
In this post, we will share our best picture settings for Samsung NU6900. Ready? Let’s dive straight in.
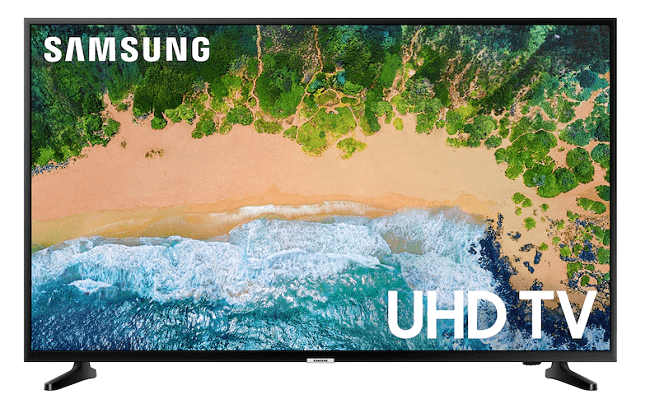
Best Samsung NU6900 picture settings
We carried out our research using the 55-inch version of this model (UN55NU6900). However, we are certain, the same settings will apply to other screen sizes which include:
- 75” (UN75NU6900).
- 65” (UN65NU6900).
- 50” (UN50NU6900).
- 43” (UN43NU6900).
These settings will work for any kind of content including movies and games. While gaming, you may need to make a few tweaks depending on the game you are playing. Without further ado, these are the best picture settings for the Samsung NU6900.
General Settings
To begin, you need to disable “Eco Solution.” This is very important so that the TV doesn’t automatically adjust your backlight settings. There’s only one reason why you may leave it on. That is if you’ll prefer that the brightness of your TV changes to suit the environment automatically.
There are four picture modes and they are dynamic, standard, normal, and movie. We advise that you select “Movie.” This gives you the best results in terms of picture quality regardless of the source.
For a calibration target of 100 cd/m2, you should go with a backlight value of 15. This will give you sufficient luminosity. However, if you feel this is too dim, then you can make a few adjustments to suit your preferences. For the other settings, you can leave them as default. They are:
- Brightness – 0
- Contrast – 45
- Sharpness – 0
- Color – 25
- Tint (G/R) – 0 for both.
Expert Settings
The first thing to do on this page is to turn off the “Digital Clean View.” You don’t need this if you are watching new high-resolution content. However, you may want to leave it on for low-resolution videos. This will give you lesser compression artifacts and smoother content.
Also, leave both Auto Motion Plus and Contrast Enhancer off. The latter helps to avoid extra processing on images so that the images are closest to the original.
Motion Interpolation
This is also known as the Soap Opera Effect. To control this, you need to open the “Auto Motion Plus” settings. It is only possible to interpolate 30 fps content to the 60Hz because of the panel on the Samsung NU6900. To achieve this, select Custom and move the slider on Judder-Reduction higher.
Gamma and Color
The best color tone to use based on the above settings is Warm2. However, if you are not comfortable with this, you can pick a cooler tone. Some people find Warm2 to be too red or yellow.
Set your gamma to 0 so that the TV automatically adjusts the gamma values based on the content. The only reason why you should adjust your gamma curve is when you notice that there’s a black crush. It is also possible that the dark scenes aren’t as deep as they should be.
For the color space, you should leave it as Auto which is the default setting. The result of this is that the color spaces automatically adjusts to suit your content. On the other hand, if you want to calibrate your TV for some SDR content, you can set color space to Custom. This means you’ll make the adjustments manually each time.
HDR Settings
To watch content from HDMI, you need to sort out your HDMI UHD Color settings. Leave this at “On” so that your TV can recognize all the HDR content you watch via HDMI. It ensures that the port transmits the bandwidth required for HDR.
Some devices do not recognize the TV if the HDMI UHD Color is turned off. When watching HDR content, you should also set your Color Space to Auto and Backlight to the maximum.
PC Monitor Settings
If you will like to use your Samsung NU6900 as a PC monitor, you should first change the device type to PC. You can do this via the submenu under the Input Device Manager. Leave the sharpness setting at 10. Adding sharpness is impossible, rather, the setting softens the image.
