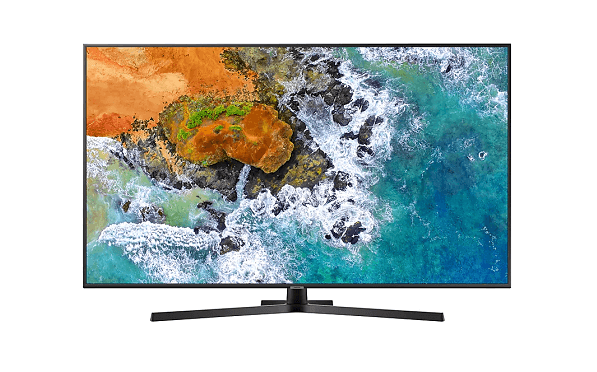
You just got yourself the stunning Samsung Series 7 UHD TV. Congratulations!!! This is an advanced piece of tech that promises to give you great value for money.
Having this TV sitting in your living room is not enough. You need to get the best picture settings for Samsung Series 7 UHD TVs to enjoy it to the fullest. Regardless of the TV size, we have the best settings that will cut across different sizes.
Best Picture Settings for Samsung Series 7 UHD TVs
It is important to note that you may need to tweak the settings a little for certain functions. Such functions include gaming or using the TV as a monitor. With this out of the way, let’s check out the settings for your Series 7 UHD TV.
Basic Settings
It is always best to begin the calibration journey by sorting out the basic settings. Your TV comes with a couple of auto settings. For the best results, we suggest you turn off these Eco Settings. If you don’t, they may end up affecting your calibration.
Eco settings alter the TV brightness in relation to the room condition. This means that leaving it on means that even if you have fixed your settings before.
Content Settings
Each content requires unique settings. Without using this, you may not get the best quality of pictures. A vivid example is when you’re seeing a HD movie, you need pictures closest to the creator’s intent. For this reason, you need to set your picture mode to “Movie.”
You also need to set your backlight to “21.” Many movies are captured using this luminosity but for some people, this is very dim. If you are one of these people, simply adjust the backlight setting to get the best value. Note that this will not improve your picture quality.
Other settings here include:
- Brightness – 0
- Contrast – 45
- Sharpness – 0
- Color – 25
- Tint (G/R) – 0
Expert Settings
In this section, we will dig into the expert settings of your amazing Series 7 TV. The first thing to do is to turn “Digital Clean” off. This allows you to view older content with low resolution in better quality.
Before switching off Digital Clean, you should first switch “Auto Motion Plus” off. Both settings are mutually exclusive. In some cases, you may need to switch off the “Contrast Enhancer” as well.
Doing this ensures that you enjoy original content instead of enhancing your images unnecessarily. In a nutshell, this saves your content from image processing.
Soap Opera Effect
Most HD TVs come with this effect, however, they are controlled by different settings. In the Samsung Series 7 UHD TV, it is controlled by “Auto Motion Plus.”
For the most part, we suggest that you leave this feature off. If your TV panel possesses a 60 frame per second refresh rate, it can interpolate content at a rate of 30 frames per second.
The best way to boost or reduce the Soap Opera Effect is to switch Auto Motion Plus to Custom. You should also reduce “De-Judder.”
Gamma and Color
These settings are very important in determining the picture quality of your TV. The best color tone to use is Warm2. If you feel the pictures are too yellow or red, you can pick a cooler color.
You should leave your gamma at +2. This gives you the best picture quality for HD content. However, this TV is smart enough to adjust gamma settings automatically. If you feel the TV hasn’t done justice to the settings, you can tweak them manually.
Set your color space to Auto. The result of this is that your TV catches the color calibration to different content automatically. If you prefer to alter the settings for SDR content manually, switch color space to “Custom.”
Game Settings
Before you begin to play a game, you need to sort out your gaming settings on the TV. This means that you need to switch your TV to game mode. To do this, go to General Settings and tap on External Device Settings. Next, tap on Device Manager and choose “Game Mode.”
If your game content is in HDR, you need to adjust HDMI Black. For most people, they simply fix their HDMI Black to Auto. This way, they don’t have to tweak settings all the time.
To do this, tap on External Settings and open General. From here, you should select External Device Manager then switch HDMI Black to Auto. It’s that simple.
Conclusion
Note that if these settings are not perfect for you, you can always change them to suit your viewing conditions. Did we leave anything out? Drop it in the comments section below.


)