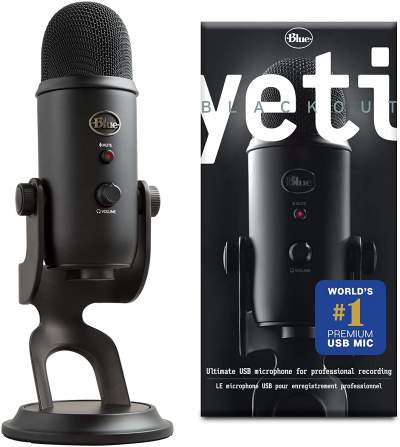
Every podcaster, live streamer, or anybody that communicates to an audience verbally seeks a tool that will help to enhance the sound of their voice and help them communicate effectively. That’s where the Blue Yeti Microphone comes in. Blue Yeti microphones are widely used for streaming, home sound recording, and podcasting due to their affordability and value delivery. However, they seem to have a little drawback.
The Yeti microphone is known to be overly sensitive, so much that it takes in loads of needless background noise along with your voice. Sometimes, even when you’re recording in a relatively quiet place, some background noise, like ticks and flicks from the adjoining room might find its way into your recording. This has become a major cause of concern for many. But then, can’t something be done about it? Well, yes, this issue can be rectified.
To prevent background noise from getting into your recordings, your microphone setting needs to be at its best. This means you need to set it at the optimal setting for the best sound quality. Wondering what that is? Don’t worry, that’s what I’m about to show you.
What Is The Best Setting For Blue Yeti Microphone?
Aside from making sure to eliminate any background noise possible (such as turning off the tv or noisy fan), the following tricks and tweaks in the microphone setting will help you to achieve a better sound quality when recording with a Blue Yeti Microphone. Let’s have a look…
-
Ensure the microphone does not point to the sound source
This is because the Blue Yeti is a side-address phone which records from the sides. Hence, the microphone top should be pointed away from the sound source.
-
Set it to the mode that best suits your type of recording
The Blue Yeti Microphone has four different modes, namely Cardioid, Stereo, Bidirectional and Omnidirectional mode. Each of these modes has its specific characteristics and suggested usage. For instance, the Cardioid mode records sound sources that are directly in front of the microphone, delivering rich, full-bodied sound. Hence, it’s well suited for podcasts, voice-overs, Instruments, and vocal performances.
On the contrary, the Omnidirectional mode picks up sound from all around the microphone, hence, it’s suited for recordings of a band performance or a conference call. The Stereo mode is perfect for recording acoustic guitar or choir as it captures a wide, realistic sound image using both left and right channels. The last but not least, the Bidirectional mode, records from both the front and back of the microphone. It’s most suited for a two-person interview or a duet. Therefore, you should determine which mode would work best for your type of recording and make the necessary settings.
-
Adjust the gain of the microphone to as low as necessary
In simple terms, the gain of your microphone refers to the amount of sound the microphone will absorb. Meaning if the gain is too high, you’ll hear loud and distorted audio and if it’s too low, you’ll simply not hear anything at all. So turn the Gain Knob and tweak till you have a sweet spot where your voice is not sounding too soft and you can’t hear any background noise.
-
Adjust the Windows volume too
The windows volume also has an impact on the overall sound volume when recording with the Blue Yeti. If you’ve turned your gain to the lowest, you might want to increase your Windows volume to 100. This will help the microphone regain its sensitivity without absorbing all the extra noise. Some streamers have also reported that turning the gain to a middle-point while reducing the Windows volume to 0 also works perfectly.
And there you have it! Simple, easy adjustments you can make to your Blue Yeti settings for optimal sound quality. Now you can enjoy podcasting, streaming, and recording with your Yeti microphone.


)