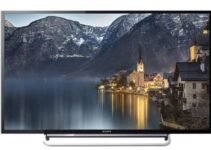
Are you looking for the best picture settings on your Mitsubishi DLP TV? If so, you’ve come to the right place!
TVs have many options that can help improve your viewing experience. But knowing what settings are best can be tricky with all these choices.
That’s why we’ve put together this guide – to give you an easy-to-follow way to get excellent picture quality from your Mitsubishi DLP TV.
So let’s start and find the best picture settings!
Best Picture Settings for Mitsubishi DLP – Basic Settings
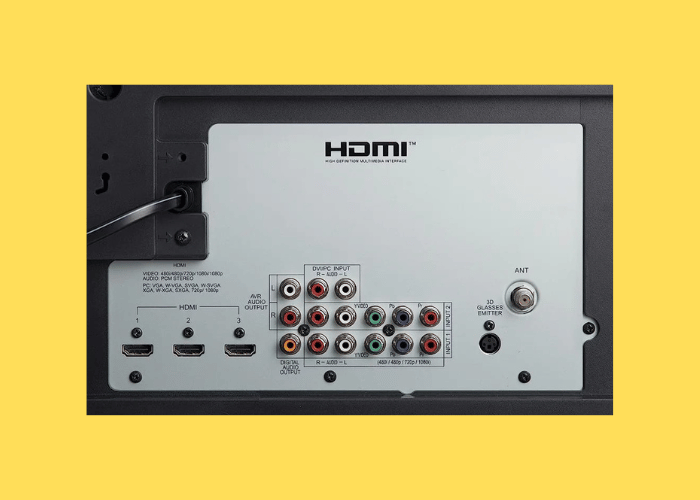
You want to get the most out of your watching experience if you are the happy owner of a Mitsubishi DLP TV.
Finding the ideal picture settings can enable you to improve your TV’s vivid colors, fine details, and overall image quality.
Let’s look at the basic visual settings you may change on your Mitsubishi DLP TV to get things going.
1. Brightness
The brightness setting determines the overall brightness of the image.
Adjusting the brightness: Although lowering it too low might make an image appear dull, raising it too high can make it appear washed out.
2. Contrast
The contrast setting controls how much the brightest and darkest areas of the image differ from one another.
The contrast may affect how vibrant, and alive an image seems, whereas a decrease in contrast setting can make an image appear flat and boring.
It may help make objects visible in low-light conditions and reduce eye fatigue.
3. Color
The color option controls how vibrant the colors seem on the screen.
You may achieve a more realistic and natural-looking image by adjusting the color.
Setting it too high, however, may cause the image to look too bright and artificial.
4. Tint
The tint option controls how red and green are balanced.
Skin tones seem more realistic, and you may improve overall color accuracy by adjusting the tint.
5. Sharpness
The clarity and detail of the picture depends on the sharpness setting.
Setting the sharpness to a higher level might make the picture seem unnaturally enhanced and overly sharpened, but it can also help make the image look more defined and crisp.
Adjusting these simple image settings, you may have a fantastic viewing experience on your Mitsubishi DLP TV.
However, the ability to fine-tune specific sophisticated image settings will allow you to elevate your watching experience.
Advanced Picture Settings for Mitsubishi DLP
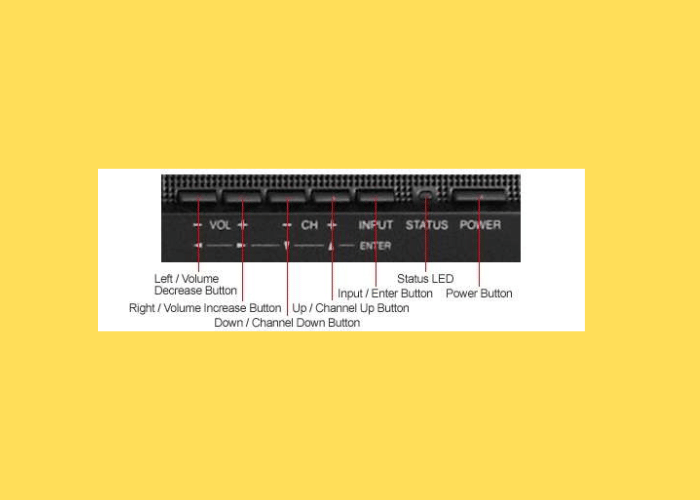
It’s time to investigate your TV’s advanced settings to enhance viewing.
1. Gamma
The gamma setting alters the brightness of the image’s mid-tones. The image can appear more balanced and natural with improved visibility of details in the shadows and highlights by adjusting the gamma.
On the other hand, adjusting it too high or low may result in an excessively bright or dark image.
2. Temperature (Color)
The color temperature setting adjusts the overall color balance of the image.
The image can appear more realistic by changing the color temperature, giving the skin tones and other natural colors a more true representation.
But if you adjust it too high or too low, the image can appear too blue or yellow, respectively.
3. Noise Reduction
The noise reduction option lowers picture noises.
These picture noises are grainy and static.
Making changes to noise reduction can improve how smooth and clear the image seems.
However, setting it too high may result in an unnatural and highly processed image appearance.
4. Dynamic Contrast
Based on the presented material, the dynamic contrast setting automatically modifies the contrast.
This setting might make the image appear more vibrant and realistic in darker situations.
However, setting it too high might produce an overly artificial and processed image.
5. Black Detail
The image’s dark portions are given more contrast and depth thanks to the black detail option.
Especially in gloomy environments, adjusting the black detail can help the image appear more defined and sharp.
Setting it too high, however, might result in an unrealistically bright and vivid image.
Adjusting these sophisticated image settings, you can create a unique and immersive watching experience on your Mitsubishi DLP TV.
Yet, calibration is still a crucial factor to take into account.
Watch for the session after this one when we go through the value of calibrating and how to achieve it.
Calibration Settings for Mitsubishi DLP

Setting up your TV for calibration lets you get the most precise and excellent image quality.
It guarantees the content creator’s planned use of color, brightness, contrast, and other visual components.
Why is Calibration Important?
Calibration may significantly alter the image quality you view on your Mitsubishi DLP TV. It is crucial.
A poor viewing experience can come from improper calibration, which can cause the colors to seem washed out, the brightness to be either too high or too low, and the contrast to be incorrect.
Calibration (Professional)
Employing a qualified expert to visit your house and change your TV’s settings is known as professional calibration.
Although this might be costly, it guarantees the most precise calibration possible.
Professional calibration is advised for individuals serious about attaining the highest possible image quality from your Mitsubishi DLP TV.
Calibration (Self)
With calibration tools, such as a calibration disc or software, you may self-calibrate your TV by making the necessary adjustments to the settings.
Self-calibration can nevertheless significantly enhance the quality of your image, even if it is not as exact as professional calibration.
Tips and Tricks for the Best Mitsubishi DLP Viewing Experience

Tip 1: Ambient lighting
The quantity of ambient light in your viewing area can significantly impact the image quality of your Mitsubishi DLP TV.
Watching television in a room with low lighting or complete darkness is advised to get the most outstanding visual quality.
If impossible, you can conceal exterior light sources using blinds or drapes.
Tip 2: Distance of Viewing
How close you are to your Mitsubishi DLP TV might also impact the image quality.
It’s advised to sit at a distance around double the diagonal screen size of your TV to prevent eye strain and offer the most comfortable viewing experience.
For instance, if your TV is 50 inches, you should sit 8.3 feet (or around 100 inches) away from it.
Tip 3: Source of the Image
The image quality on your Mitsubishi DLP TV may differ depending on the quality of the source you are using to view the images.
Always attempt to view high-definition (HD) or ultra-high-definition (UHD) videos if you want the most excellent picture possible.
Avoid watching a compressed, pixelated, or fuzzy low-quality video.
Tip 4: Maintenance (Routine)
You may also guarantee the highest possible image quality on your Mitsubishi DLP TV with routine maintenance.
The clarity of the image may be impacted by dust and grime accumulation on the screen.
Cleaning your TV screen with a gentle, dry cloth regularly is advised to prevent this.
You shouldn’t use abrasive or strong chemicals since they might scratch the screen.
Conclusion
You may significantly improve your watching experience by adjusting the image settings on your TV.
You may attain the ideal image quality by altering the basic and advanced picture settings, calibrating your TV, and adhering to some valuable tips and techniques.
It’s crucial to remember that every viewing area is different when choosing the picture settings for Mitsubishi DLP.
The suggested settings in this article should be used as a starting point, but you may need to make adjustments to make them more suitable for your unique requirements and tastes.
With a Mitsubishi DLP TV, you can get the finest possible picture quality by modifying the settings and heeding some helpful hints.
Hence, relax in breathtaking clarity and detail while watching your favorite films and television programs.
