Are you a lover of Callaway? If yes, then you must have heard about the new Rogue Drive. This driver combines the technology of the X-Face VFT and the strength of the Jailbreak technology. What is the result? The combination is the Rogue Drive that boasts long distance and high ball speed.
The challenge is that many people haven’t gotten the best Callaway Rogue Driver settings. If you fall into this category, we know how frustrating this is. Not to worry, we will bail you out by providing you with the settings in this post.
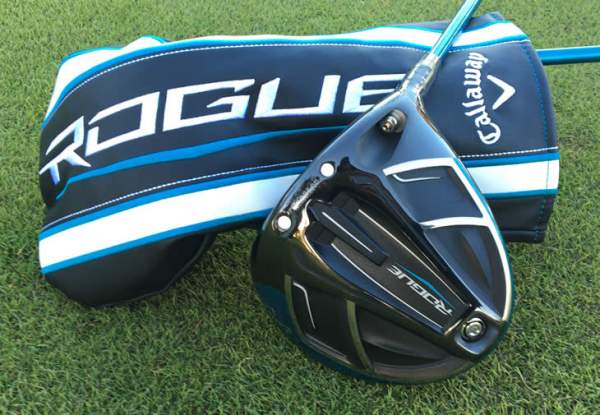
About the Callaway Rogue Driver
Before we even discuss the Callaway Rogue Driver best settings, let’s briefly discuss this piece of equipment. It has a triangular yet fairly symmetrical 460CC head. When you compare it to the “GBB Epic,” you’ll notice that it is about a touch shorter and has a shallower face.
The Rogue Driver comes with a carbon fiber crown and a gloss back. From this, you can tell that this driver looks great. Asides from its looks, the driver also has an impressive sound. In one word, we can describe it as “rock-solid.” Enough of the description, let’s get to the best Callaway Rogue Driver Settings.
Best Callaway Rogue Driver Settings
To be sincere, there aren’t the best settings for the Callaway Rogue Driver. It all depends on what suits your game best. This is why, instead of suggesting the best settings, we will show you how to adjust your settings effectively.
The first thing you want to do is sort out the hazel screw. To loosen or open the screw, put your adjustment wrench over the top of the screw then turn it anti-clockwise. The adjustment wrench comes with the package so there’s no need to buy a new one. To lock the screw in place, simply turn the screw clockwise until you hear the click sound.
You also need to look at the markings on the hazel. The first marking you see is a 9 degree marking and beneath it is a little hyphen. Move a little further to the end of the hazel and you see another hatch line. Between both lines are the “top cog” and “bottom cog.”
Both cogs have letters and numbers on them. The default setting is “S” for “stated loft” on the lower cog which is why you have 9 degrees. You also see “N” for “neutral setting.” The golden rule in sorting out your hazel settings is to have the lines straight at all times.
Now, let’s move to the shaft. To get it out, simply turn the hazel screw anti-clockwise all the way. When you free up the shaft, you’ll notice that the cogs can move independently. The cogs represent the different loft and lines that you can choose. You can add about 2 degrees of loft or go one degree lower.
For each loft, you can decide between 2 settings. You can either pick a “Draw setting (D)” or “neutral setting (N).” It is important to find your desired loft first. When you find this, you can find your best setting.
When you are done with your settings, you can put the head and shaft back together. Once you fit them into one piece, screw back the hazel and you are good to go. The more you play, the easier it is for you to get your best settings.
Conclusion
One of the advantages of the Callaway Rogue Driver is that you can adjust settings as much as you want. Make sure you don’t do that during a competitive round anyway. What else would you like to know about the Callaway Rogue Driver? Drop it in the comments section.


)